John Deere Lawn Tractor Leaking Oil: A Troubleshooting Guide
Discovering oil stains under your John Deere lawn tractor is frustrating, but many leaks are easily fixed. This guide provides step-by-step instructions for troubleshooting and repairing common oil leaks. For information on the correct hydraulic oil, see this helpful guide on hydraulic oil types.
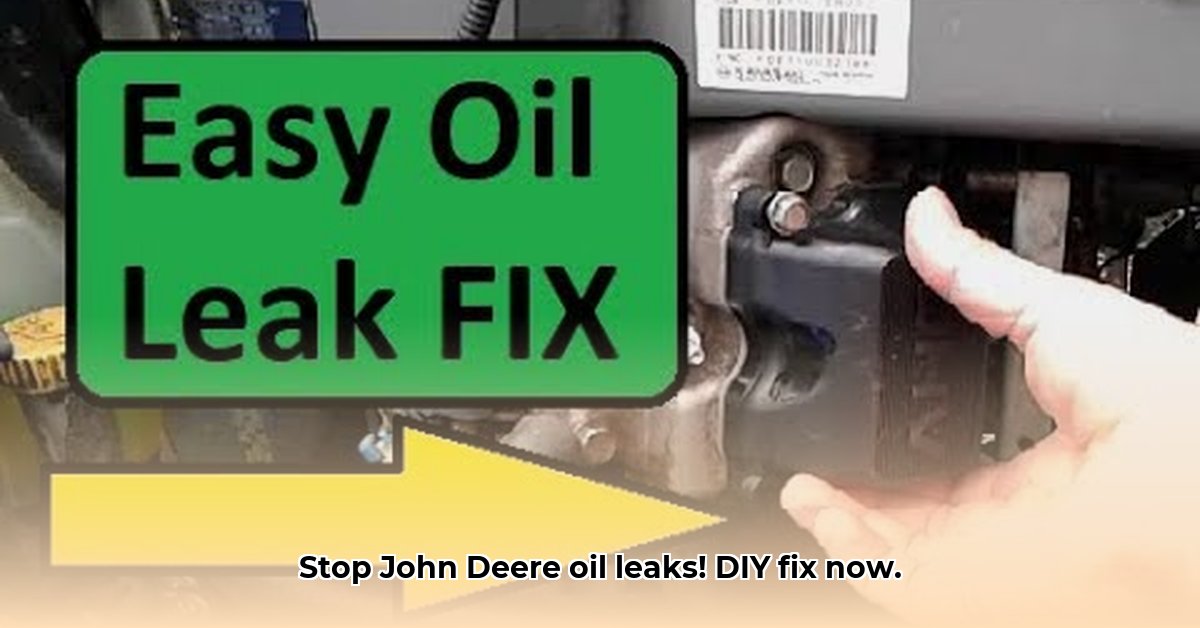
Pinpointing the Problem: Locating the Leak Source
Before starting repairs, identify the oil leak's origin. Wipe down the engine thoroughly with clean rags. Run the engine briefly (one to two minutes) and carefully observe where the oil is escaping. Note the location – under the engine, near the fill cap, around the drain plug, etc. This is crucial for effective repair.
Common Causes of John Deere Oil Leaks
Several factors can cause oil leaks. Let's examine the most frequent culprits:
Loose Oil Fill Cap: A simple fix! Check if the cap is tightly secured. Replace the rubber gasket if cracked or worn. This is often the easiest solution.
Loose or Damaged Drain Plug: Ensure the drain plug is snug. Replace the washer if it's damaged or crushed to prevent future leaks.
Worn Oil Seals: Oil seals prevent oil leakage. Wear or damage to these seals (common with age and vibration) requires replacement, a more involved repair.
Cracked Engine Case: This is a serious issue requiring professional repair or engine replacement; it's not a DIY job.
Step-by-Step Troubleshooting Guide
Follow these steps, progressing from simple to more complex solutions:
Visual Inspection: Thoroughly examine all potential leak points, starting with the oil fill cap and drain plug.
Tighten and Inspect: Tighten the cap and drain plug. Replace any damaged gaskets or washers. This often resolves the problem.
Check Oil Level: Ensure the oil level is correct; overfilling can cause leaks.
Professional Assistance: If the leak persists, consult a qualified mechanic for diagnosis and repair.
Repairing the Leak: DIY vs. Professional Help
Repair complexity depends on the leak's source. Simple leaks are DIY-friendly; complex issues require professional help.
Easy Fixes: Replacing a damaged gasket is manageable for most homeowners. Clean the area before installation.
Professional Repairs: Damaged oil seals or a cracked engine case need professional attention; this requires specialized tools and expertise.
Preventing Future Oil Leaks: Preventative Maintenance
Regular maintenance significantly reduces the risk of future leaks:
Regular Oil Changes: Follow the manufacturer's recommendations for oil and filter changes.
Routine Inspections: Regularly inspect your tractor for any signs of leaks. Early detection prevents major problems.
Proper Storage: Store your tractor on level ground, preferably under cover, to protect it from the elements.
When to Call a Mechanic: Recognizing Limits
Don't hesitate to seek professional help for complex leaks. Neglecting oil leaks can lead to costly engine damage.
Safety First: Essential Precautions
Always disconnect the spark plug before any repair. Wear safety glasses and gloves to protect yourself.
Disclaimer: This guide is for informational purposes only. The author and publisher assume no liability for damages incurred during repairs. Consult your owner's manual for model-specific information.
How to Fix a John Deere Riding Mower Oil Leak (Crankcase Seal)
This section focuses on replacing a crankcase seal, a more involved repair.
Locating the Leak: A Detailed Examination
Thoroughly clean the engine to precisely locate the oil leak. Examine these areas:
- Drain Plug: Check for tightness. Vibration can loosen it over time.
- Oil Fill Cap: Verify secure placement.
- Oil Filter: Check for leaks around the filter and gasket.
- Valve Cover Gasket: Examine the gasket for wear or damage.
- Crankcase Seal: This is a more complex repair, requiring careful attention.
Addressing Minor Leaks: Quick Fixes
Minor leaks (from a loose drain plug or fill cap) require tightening these components. Consider using a threadlocker on the drain plug to prevent future loosening.
Replacing the Crankcase Seal: A Step-by-Step Guide
This repair requires mechanical aptitude and the right tools.
Step 1: Preparation: Consult your John Deere owner's manual for model-specific instructions. Gather necessary tools (sockets, wrenches, screwdrivers, new crankcase seal, drain pan, potentially a seal puller). Securely support your mower.
Step 2: Draining the Oil: Drain the oil into a container, ensuring complete drainage.
Step 3: Removing the Old Seal: Access the crankcase seal (may require removing engine housing components). Use a seal puller to remove the old seal without damaging the crankshaft.
Step 4: Installing the New Seal: Clean the crankshaft. Carefully install the new seal, ensuring proper seating. Lubricate the seal slightly.
Step 5: Reassembly: Reassemble all components, referencing your owner's manual. Replace the oil filter. Add the correct type and amount of oil.
Important Note: Replacing a crankcase seal is difficult and may require specialized tools. Seeking professional help is advisable if you lack experience.
Preventative Maintenance: Avoiding Future Leaks
Regular oil changes (using the recommended oil type and intervals) and routine inspections significantly reduce the risk of future leaks.
Key Takeaways:
- Accurate leak location is paramount for effective repair.
- Minor leaks are often easily fixed by tightening components.
- Significant leaks necessitate seal replacement or professional attention.
- Preventative maintenance is key to long-term engine health.
- Always consult your John Deere owner's manual for detailed instructions and safety precautions.